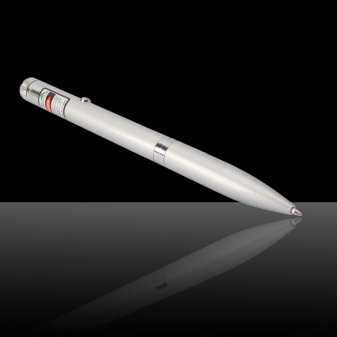
A laser pen uses a small lens to concentrate the laser brightness since it exits the barrel of the pointer. A dirty or cracked lens inhibits the laser brightness and renders the laser pointer useless. Replacing the lens in a laser pointer can be done from the casual user because it doesn't require replacing any electronic parts. The procedure calls for a producer new lens from the comparable laser pointer, and the whole procedure can be done in as one hour.
Put a clean up cloth down a purpose surface.
Take the replacement laser pointer and hold it with one hand at every end. Twist the laser pointer to break the glue holding the middle seam between the two halvesof the replacement laser pointer.
Separate the two halves of the replacement laser pointer. Discard the half using the laser mechanism. Put the other half down for the clean up cloth.
Insert the cotton swab at the front end of the half of the replacement laser pointer that is now for the clean up cloth. Push the lens from within of the half out and onto the clean up cloth. Discard the half of the replacement laser pointer that no lengthier has the lens in it.
Take the laser pointer that will be to have a producer new lens and hold it with one hand at every end. Twist the laser pointer until the glue at the middle of the two halfs comes loose.
Separate the two halves. Put the half using the lens in it down for the clean up cloth.
Unscrew the battery hat via the half of the laser pointer which has the exposed laser mechanism now showing. eliminate the batteries, and put them and the battery hat aside. Place the half of the laser pointer using the exposed laser mechanism down for the clean up cloth.
Pick back again up the half of the laser pointer, which has the lens within it. Poke out the lens using a cotton swab. Discard the lens.
Carefully pick up the replacement lens that is for the clean up cloth. Insert it to the half of the laser pointer that experienced the lens within of it. Move the lens into location from the half of the laser pointer using a cotton swab.
Place the two halves of the laser pointer back again together. Put a thin layer of bonding glue for the seam in which the two halves come together. Hold the two halves collectively until the glue sets.
Put the batteries back again to the laser pointer. Screw for the battery cap.
Aim the pen laser pointer at a wall that is much aside and press the button. Watch the laser brightness emerge.
Warnings:
Put on whitened photography gloves when handling the lens so concerning avoid obtaining fingerprints on it.Shining a laser brightness at an jet is often a felony, so don't do it.
 RSS Feed